I suggest replacing your tap washers as soon as you notice a drip. If your water bill is a little higher than usual, check your outside taps. A slow leak might have developed which can easily go unnoticed until you get your water bill.
This maintenance issue that will get worse over time. I’ll show you how, as a DIYer, you can fix a leaky tap, step-by-step.
These are terms you should know – reseating and stopcock.
What does reseating a tap mean?
When you turn off a tap, the ‘seat’ is what the washer is tightened onto. Sometimes a small groove or scratch can form on the seat. This imperfection allows water to escape under the washer which causes a slow leak, or drip, from the tap – no matter how tightly you turn off the tap.
This groove or scratch will continue to get worse over time and so too does the leak.
Reseating involves shaving back and leveling the seat again so the tap washer fits flush and securely when tightened to prevent water leaking.
What’s a stopcock?
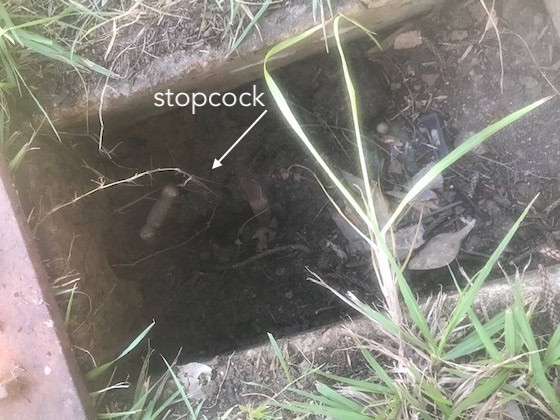
A stopcock looks like a tap without the spout and is the name of the valve, (or tap), that’s used to turn off the water supply to a dwelling.
The stopcock regulates the flow of water from the ‘mains’, through a pipe supplying the property.
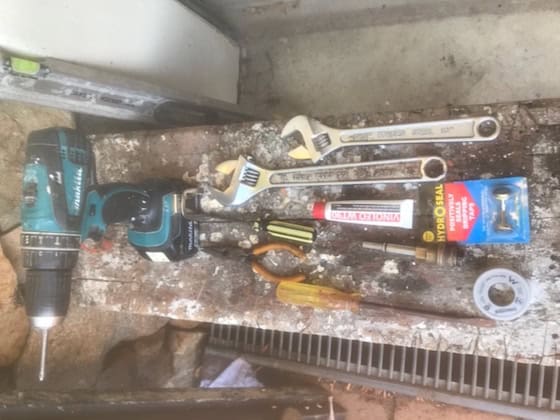
Tools & Materials
- Shifting Spanner
- Long nose pliers
- 2 screwdrivers - a large and small
- faucet reseating tool
- drill
- waterproof lubricant
- washer kit
The How To : Fix a Leaking Tap
You usually don’t know what the problem is so it can be a good idea to service the whole tap while you have the water turned off and the tap is disassembled.
Step 1 Disconnect water supply
Locate the mains water to the property. Turn the shut-off valve to the ‘off’ position.
If you’re having trouble finding the mains, check out ‘where will I find the mains water?‘ at the bottom of this article.
Step 2
Before removing the tap, make sure it’s in the ‘on’ position. It will be much easier to remove the spindle from the body.
This step helps release the pressure in the pipe. It also alleviates pressure on the tap washer which will be acting like a hand brake.
Step 3 Replacing the washer
Unscrew the faucet head, anticlockwise, then lift it out of the faucet.
Remove the rubber washer and compare it with the new one. If the tap washer appears worn out or damaged it’s time to be replaced.
Place the new washer in the same position as the old one.
If the washer looks in good condition, it means the seat of the tap is damaged.

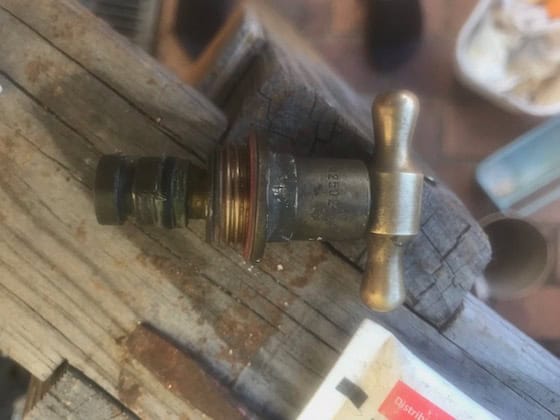
This outside tap was leaking – I’m using a shifting spanner here to remove the head from the tap
Good to know
If the rubber washer is stuck inside the tap, you can use long-nose pliers to remove it.
Comparing an new tap washer (pic 1) with a well worn one (pic 2)
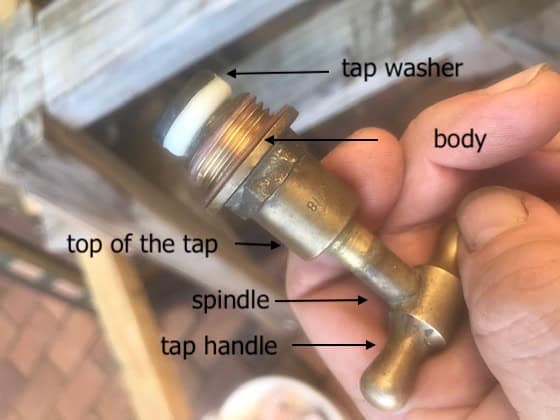
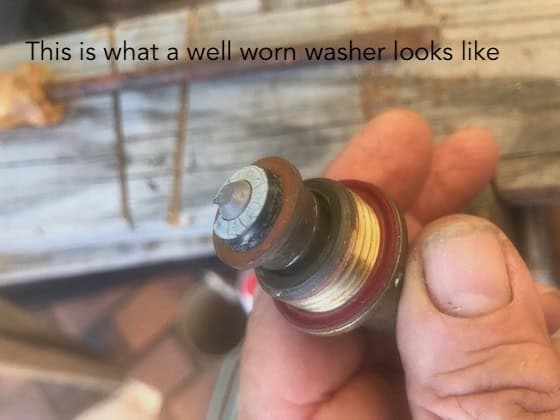
Step 4
After removing the washer we need to check the condition of the seat. Place your finger inside of the tap and gently twist to access the condition of the seat.
Step 5 How to use a Reseating tool
If you’re unsure, securely attach the reseating tool to your drill. Screw your reseating tool on to the tap as you would when reinstalling it.
Turn the reseating tool clockwise, by hand, ensuring it’s not too tight. Hold the drill firmly and switch it on for about 3 to 4 seconds.
Gently push down, turn drill on, lift the drill up then switch it off. Remove the reseater and have a look down the tap. You should see the brass seat shining.
If there is a little mark that has worn through the seat it will show up clearly as a dark line. If this is the case, reattach the reseater and repeat the process. Repeat until the mark has gone.
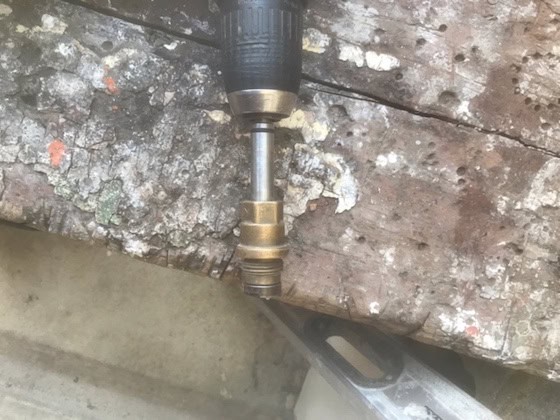
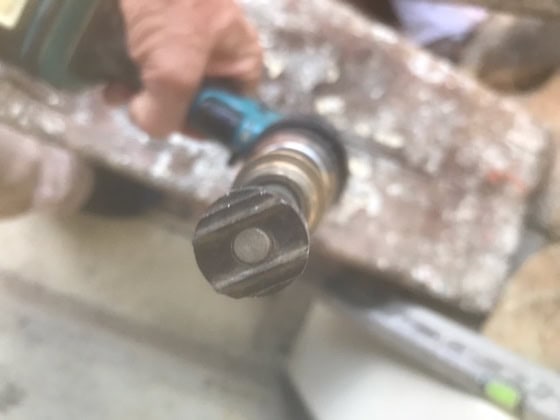
Tool Tip
Step 6
You might find a build up of brass shavings inside the tap.
Remember to leave the tap on so that when you turn the mains water back on, the water can flush out these shavings. This way inside the faucet remains clean and you won’t inadvertently squash down brass shavings onto your nice clean ‘seat’.
Most faucets inside the house have a small filter at the end of the spout. Remove the filter before flushing out the brass filings so they don’t clog up the filter causing you to have poor water flow.
Step 7 Changing the O-ring
When you’re replacing the tap washer, it’s a good opportunity to service the tap by also changing the O-ring and greasing the spindle.
Once you have the tap in your hand and have removed the old tap washer, hold the tap and turn the tap handle down as if you were opening the tap. This action causes the spindle to unscrew from the tap.
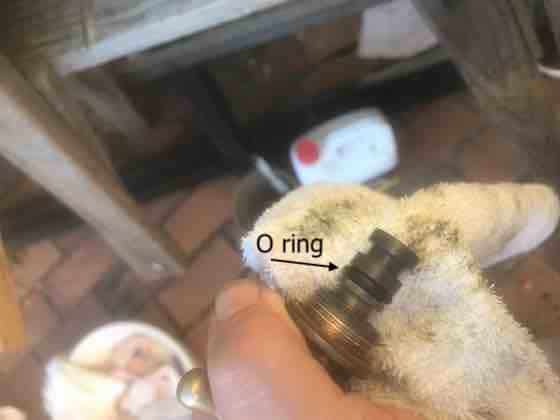
Clean the thread and O-ring thoroughly to remove any dirt and old grease.
After replacing the O-ring, apply some waterproof lubricant to the thread and O-ring before screwing it, anticlockwise, back into position.
These 2 photos compare a dirty O ring and thread (pic 1) with a new one (pic 2)
In many cases you’ll find a meter box outside your home on the footpath.
If you live in a unit, duplex or townhouse complex check under the kitchen sink, laundry sink, or in a cupboard in the laundry to locate the stopcock. It might also be hidden in the bathroom ceiling. Look for a manhole in the bathroom or toilet.
If you’re struggling to locate it, look for an access panel. I’ve even found them in garages so you might have to do some searching. If you’re in a unit complex you can reach out to your body corporate for guidance.
Remember, you only need to turn off the water supply to your unit, not the whole building.
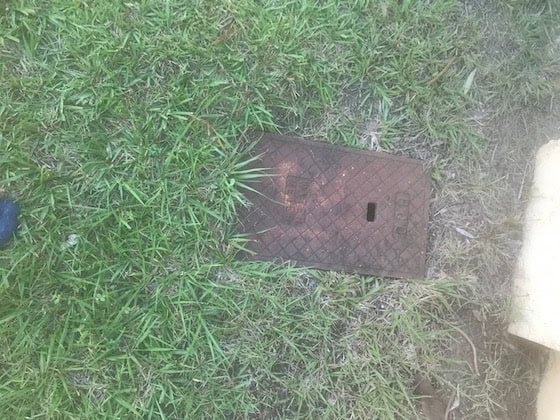
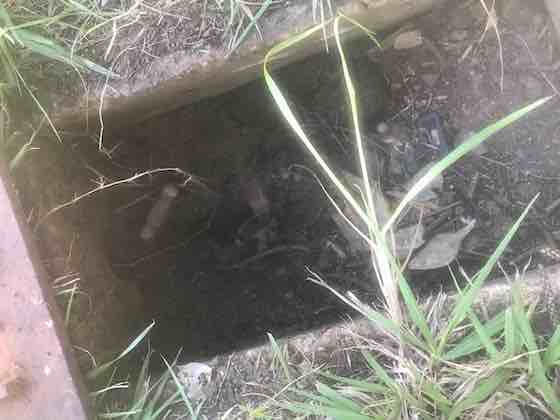
This is an outside water ‘mains’
A leaky faucet is costing you money. Even a minor drip is wasting money … and a precious resource.

