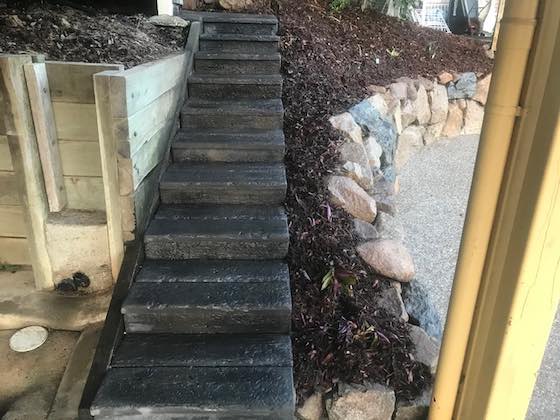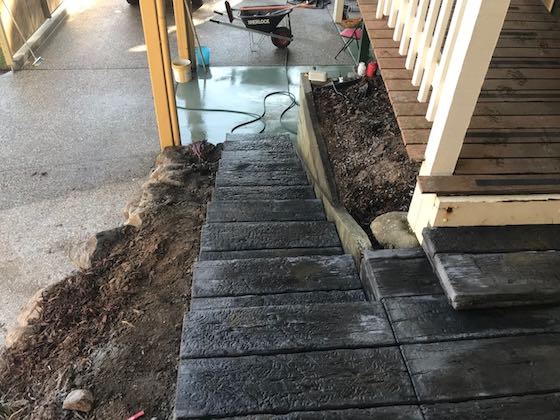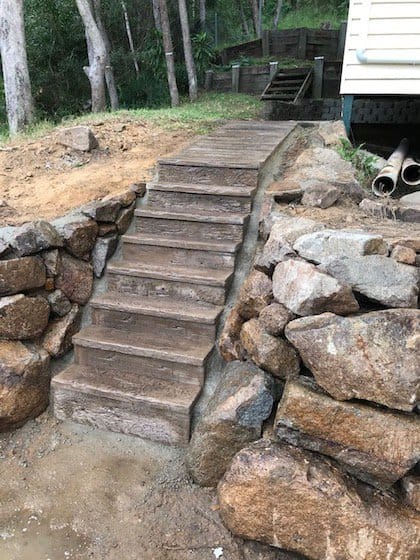
This is a cost-effective solution to replace rotting outdoor timber stairs. We chose concrete pavers that resembled the texture of timber. There’s a wide range of similar concrete products available and although colors and dimensions might vary, at the end of the day the process is the same. And you can choose pavers to achieve the look that you’re after! And the good news is that your stairway will never rot out again.
We replaced old timber stairs that had been in use for over 25 years, with precast concrete pavers.
Terms you should know:
- Riser is the distance that you step up
- Goings is the platform, or tread, that you walk on
As always, look after your own safety, see our full disclaimer prior to using this information.
Tools & Materials
- shovel
- wheelbarrow
- rubber mallet
- spirit level
- trowel
- bucket
- sponge
- Precast concrete pavers
- bags of premixed concrete blend
- bag of general purpose cement
- Tamping Rammer -(also known as a Wacker Packer in Australia) - buy or hire to pack down soil
- wetsaw - required only if you need to cut the paver treads to suit existing landscaping
NOTE: You may come across precast ‘Concrete Stair Treads’ as opposed to the precast ‘Concrete Pavers’.
Concrete Stair Treads and Concrete Pavers used as Treads - what's the difference?
Stair treads have been reinforced with steel which means they can be used as a stair tread on steel stair stringers.
Whereas when working with precast Concrete Pavers as treads, it’s essential to embed them in to concrete to provide structural support. Without proper bedding in to concrete, there’s a risk of the pavers moving around or breaking under the pressure of constant use.
Important
Don’t build precast concrete paver stairs on fill. Over time the earth will settle, ground levels change, and the stairs will move around in all directions. The ground must be solid.
If you have any doubts that your may be working on ‘fill’, use a Tamping Rammer and give the ground a good going-over first to pack down the soil. This provides a solid base to work on.
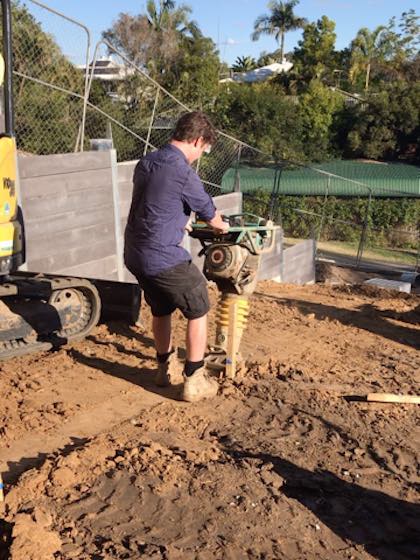
The How To : build precast concrete paver stairs
SAFETY:
- Check the required riser and *going standards for your jurisdiction to ensure they comply with the safety standards and local building codes. These dictate the minimum and maximum riser heights and minimum and maximum tread depth for you to work with.
- Treads you choose must be slip resistant
- Risers and goings should each be of uniform measurements for the same flight of stairs.
- The correct tread (going) and rise make walking up and down the stairs comfortable and safe.
Step 1 Draw a Plan
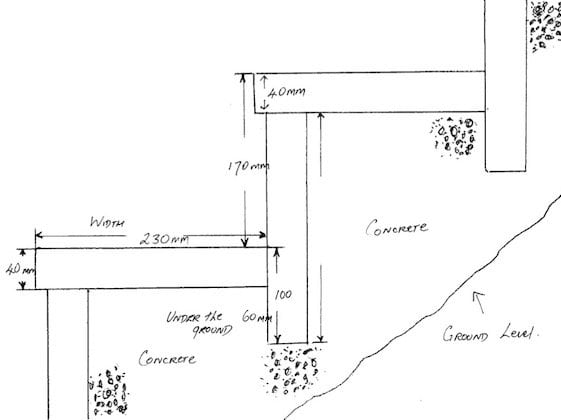
And the finished height of the riser is 170mm, (6.7″) , which includes 40mm (1.5″) thickness of the paver on the step above.
230mm + 40mm (step above) = 270 mm. Less 60mm bedded into concrete + 40 mm from the step below. See diagram
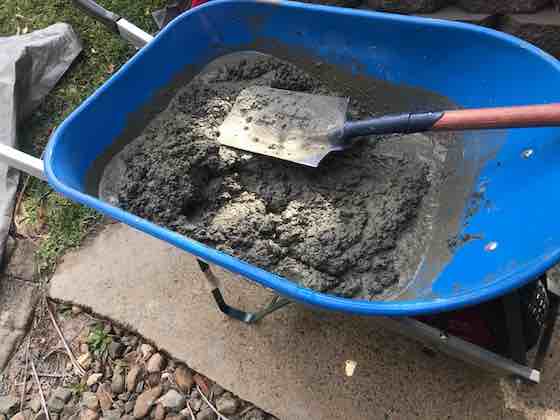
Step 2 Mix concrete in wheelbarrow
I suggest using Premixed concrete in bags that can be bought at your local hardware. Follow the directions on the pack for the quantity of water to add.
Step 3 Dig a small trench and lay the 1st riser
To start the first riser, or bottom step, dig a small trench. (Following our paver example) 820mm (32″) long and 150mm wide. This allows for a 40mm paver to be bedded in concrete.
Dig the trench deep enough so that some concrete can be placed into the bottom of the trench, ready to position the first paver on its side, which will create the 1st riser.
The depth is correct if, when you place the first paver into the trench, on its side, it protrudes out of the ground 140 mm.
Using a rubber mallet tap the paver down to 130mm above ground level. Then use a spirit level on top of the paver to ensure a level riser ready to take the next tread.
This is the starting point for the stairs. Take the time to get this right, perfectly level, and you’ve a good foundation to work from.
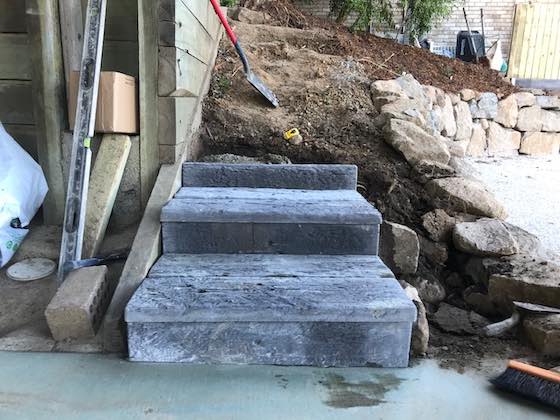
Step 4 Place concrete behind the paver positioned in Step 3
Gently fill the area behind the ‘riser’ with concrete. That is: behind the paver placed vertically as 1st riser. The concrete shouldn’t be too wet.
When positioning the riser, the concrete has to be firm enough to stop the paver pushing over.
Step 5 Sprinkle general purpose cement over top of pad
After ensuring that the newly created concrete pad behind the first riser is level, sprinkle raw cement over the top of the pad. This will act like a glue when you later place a dampened paver tread on top.
Step 6 Lay the tread to complete 1 step
Wipe the base of the paver with a wet sponge. Gently place it horizontally onto the riser allowing an overhang of 3/4 inch to 1 1/4 inch (approx 15-25mm). The wet surface of the paver tread activates the raw cement that has been previously sprinkled onto the pad. Tap paver down gently with a rubber mallet and check tread is level using a spirit level.
Step 7 Repeat the process
Repeat steps 2 – 6 for the second stair. When digging behind the tread in readiness for placing the second riser, the concrete from the pad should be firm so that it doesn’t fall away. In most cases you’ll just be removing excess concrete.
When you’ve completed one step you’ll understand how the process works, and each step will become easier.
Step 8 Clean any drips of concrete from the face of the concrete pavers
After completing each step clean excess concrete from the face of pavers using a wet sponge to prevent staining. Rinse sponge frequently.
Step 9 As concrete is drying, clean off any excess lumps of concrete
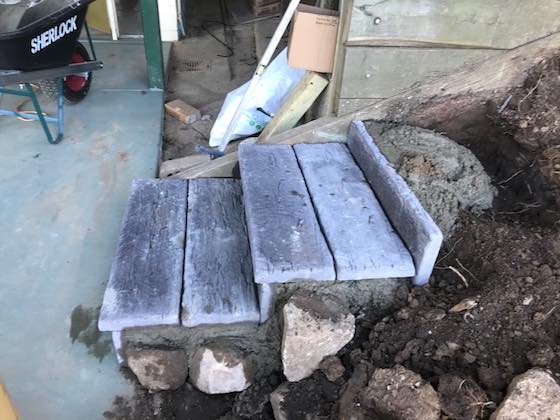
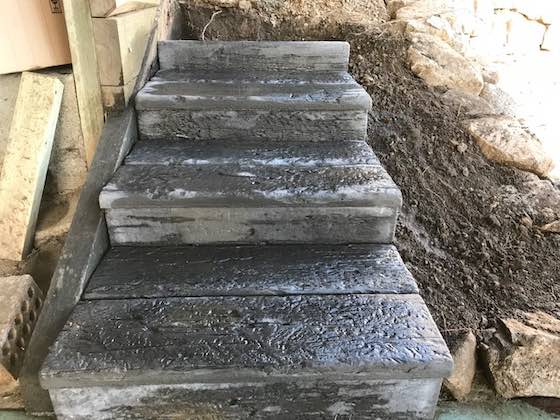
You’ll also be able to fill in the gaps on the sides of your stairs with extra concrete. You can see in the photo below that I’ve also filled the gaps with garden rocks. These will be covered with soil and eventually landscaped using ground cover plants and chip bark.
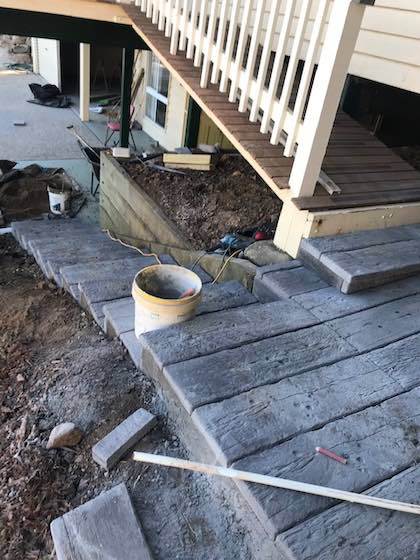
Step 10 Landscape
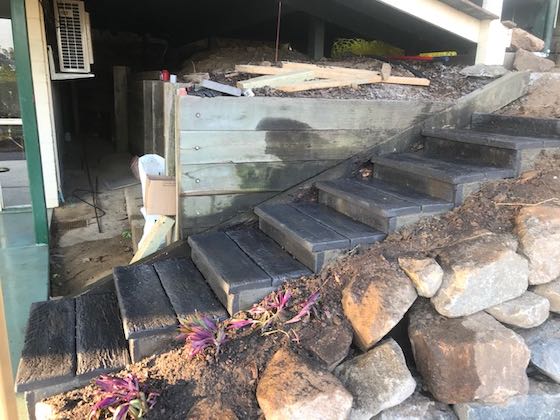
Finish off by landscaping the surrounding area. Install a handrail if needed. In Fig 2 I continued building up the bank with soil, rocks and small boulders, chip bark and plants.
Additional note: Hiring a Wetsaw is necessary if you need to cut your precast concrete pavers to fit a particular space or dimension.
